How To Connect Your Printify Store
Connecting your Printify shop lets AgoraExchange import your products, sync inventory, and route paid orders to Printify for printing and shipping. The connection takes about five minutes and you only do it once.
Before you start, you'll need:
- A Printify account with at least one shop created
- Permission to generate API tokens in that Printify account
Step 1 — Create a Printify account
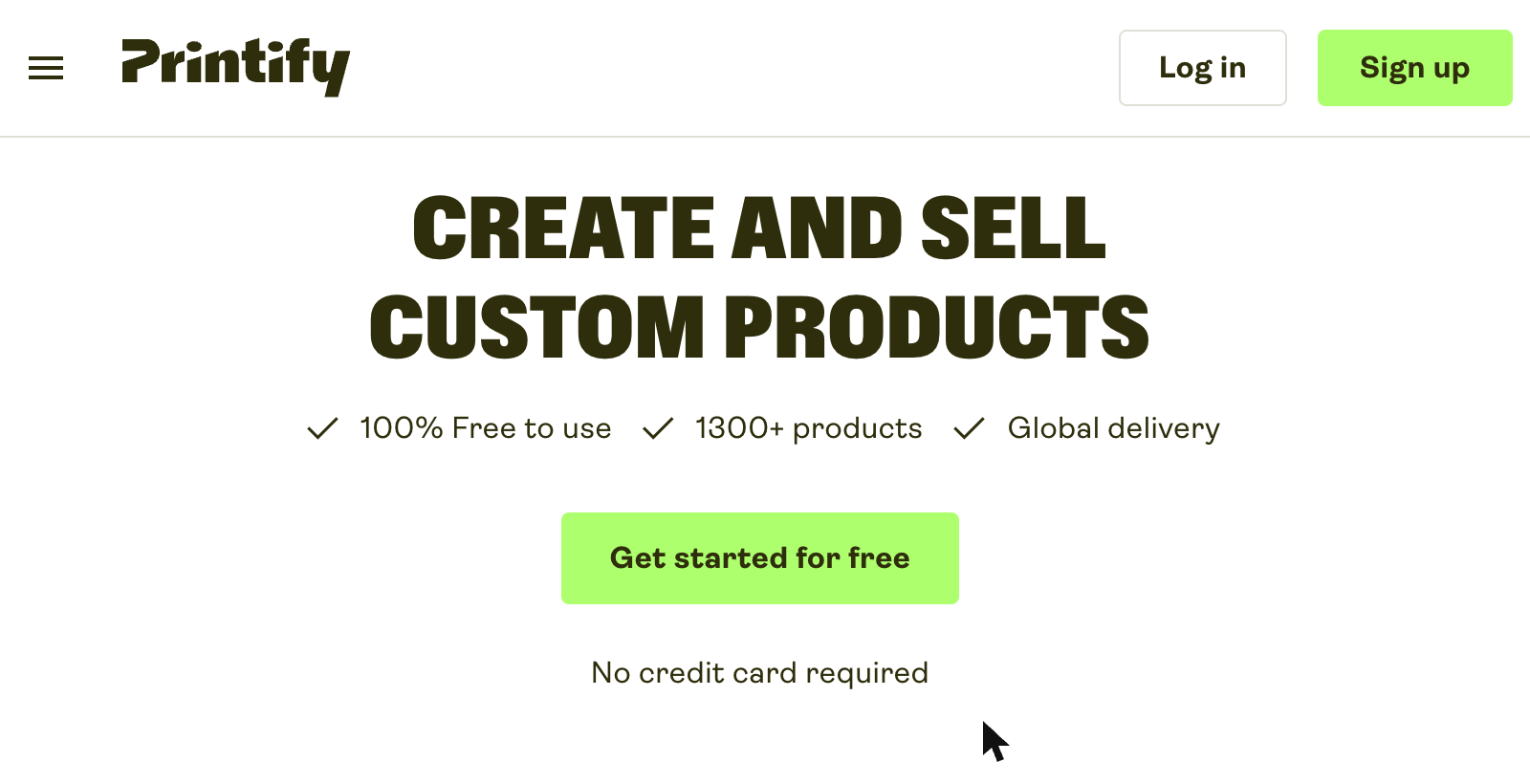
If you already have a Printify account, skip to Step 2. Otherwise:
- Open printify.com in a new tab.
- Click Sign up in the top-right corner or Start for free at the center of the page.
- Sign up with your email, Google, or Apple account.
- Verify your email address by clicking the link Printify sends you.
- Complete the onboarding questions. When Printify asks which sales platform you'll be selling on, choose Something else — AgoraExchange isn't in the dropdown.
- Create your first shop when prompted.
Step 2 — Generate an API token in Printify
AgoraExchange uses a Printify API token to talk to your Printify account on your behalf. You'll generate one inside Printify and paste it into AgoraExchange.
- Log in to printify.com.
- Click your profile icon (bottom-left) and choose My Account.
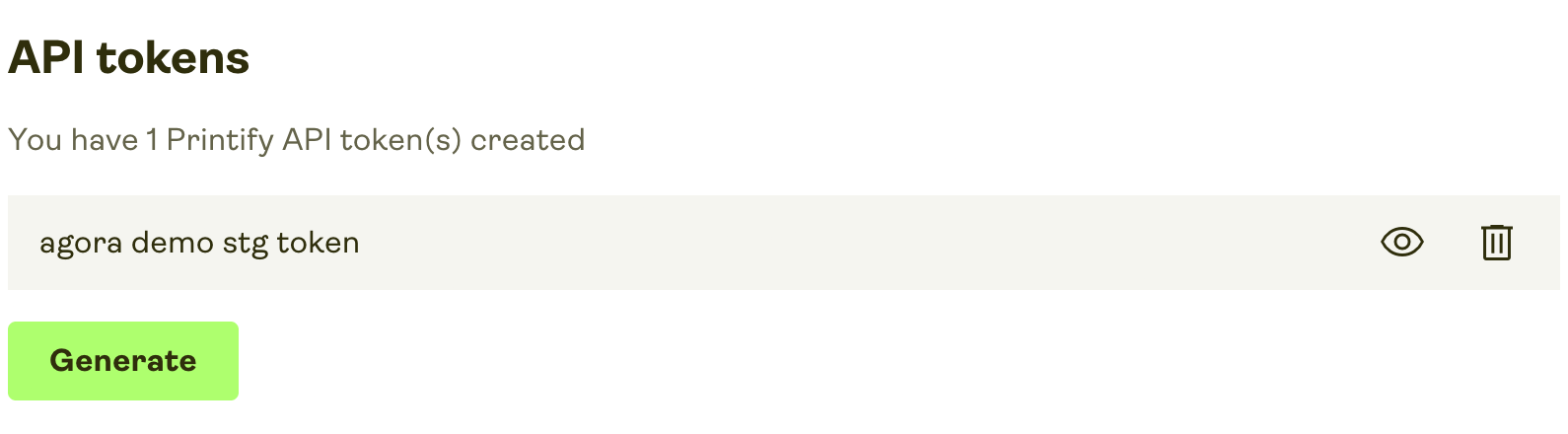
- In the left sidebar, click Connections.
- Scroll down to the API tokens section and click Generate.
- Give the token a name (e.g., AgoraExchange), pick an expiration date (we recommend 365 days), and select All scopes — we recommend full access so AgoraExchange can read your shop, products, and orders, and submit orders to Printify on your behalf.
- Copy the token immediately — Printify won't show it to you again.
Step 3 — Paste the token in AgoraExchange
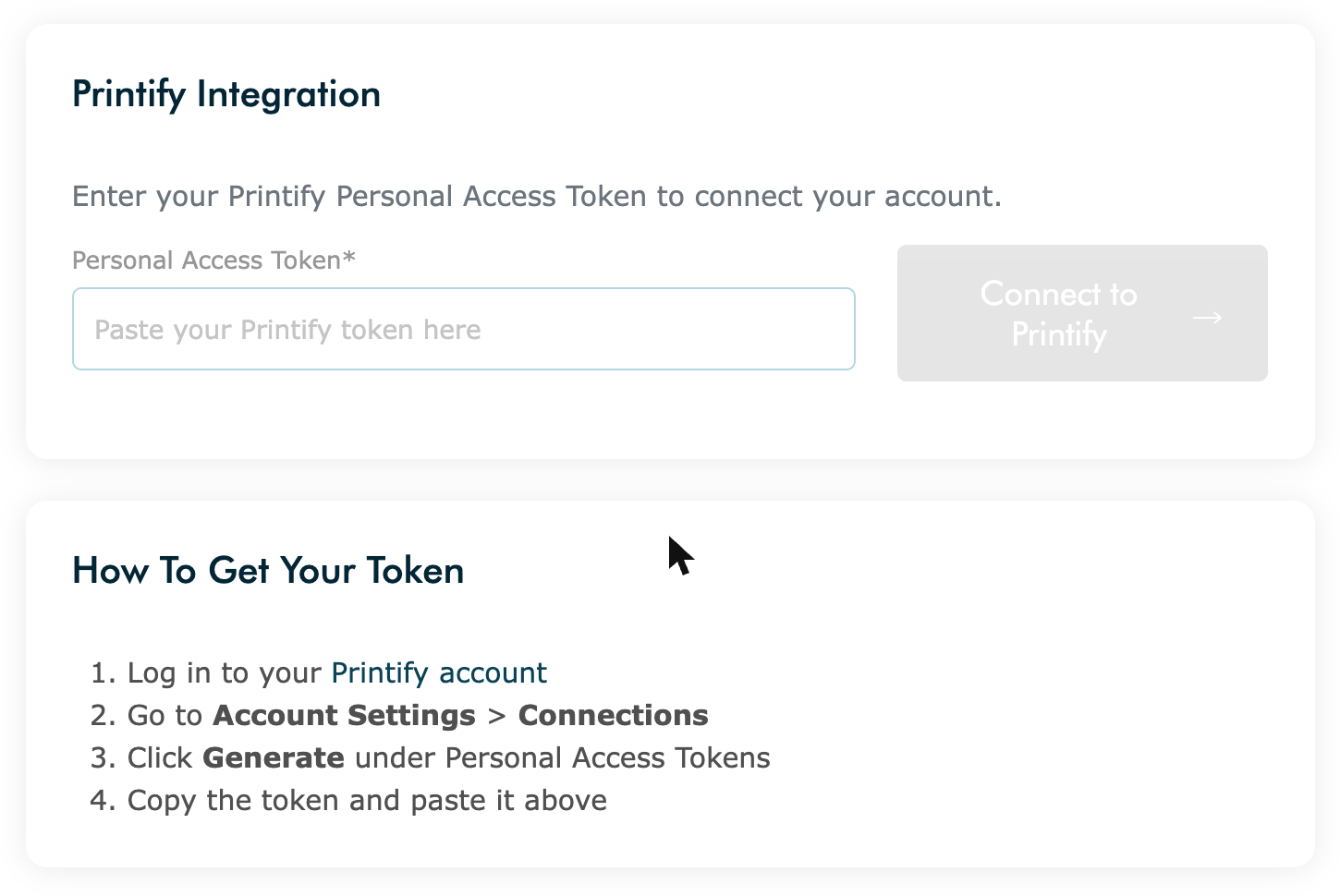
- In AgoraExchange, open the Seller Dashboard and click Printify Integration in the left menu.
- Paste the token you copied from Printify into the Personal Access Token field.
- Click Connect to Printify. AgoraExchange will verify the token with Printify and fetch your shops.
If the token is rejected, double-check that you copied the entire value and that it hasn't already expired.
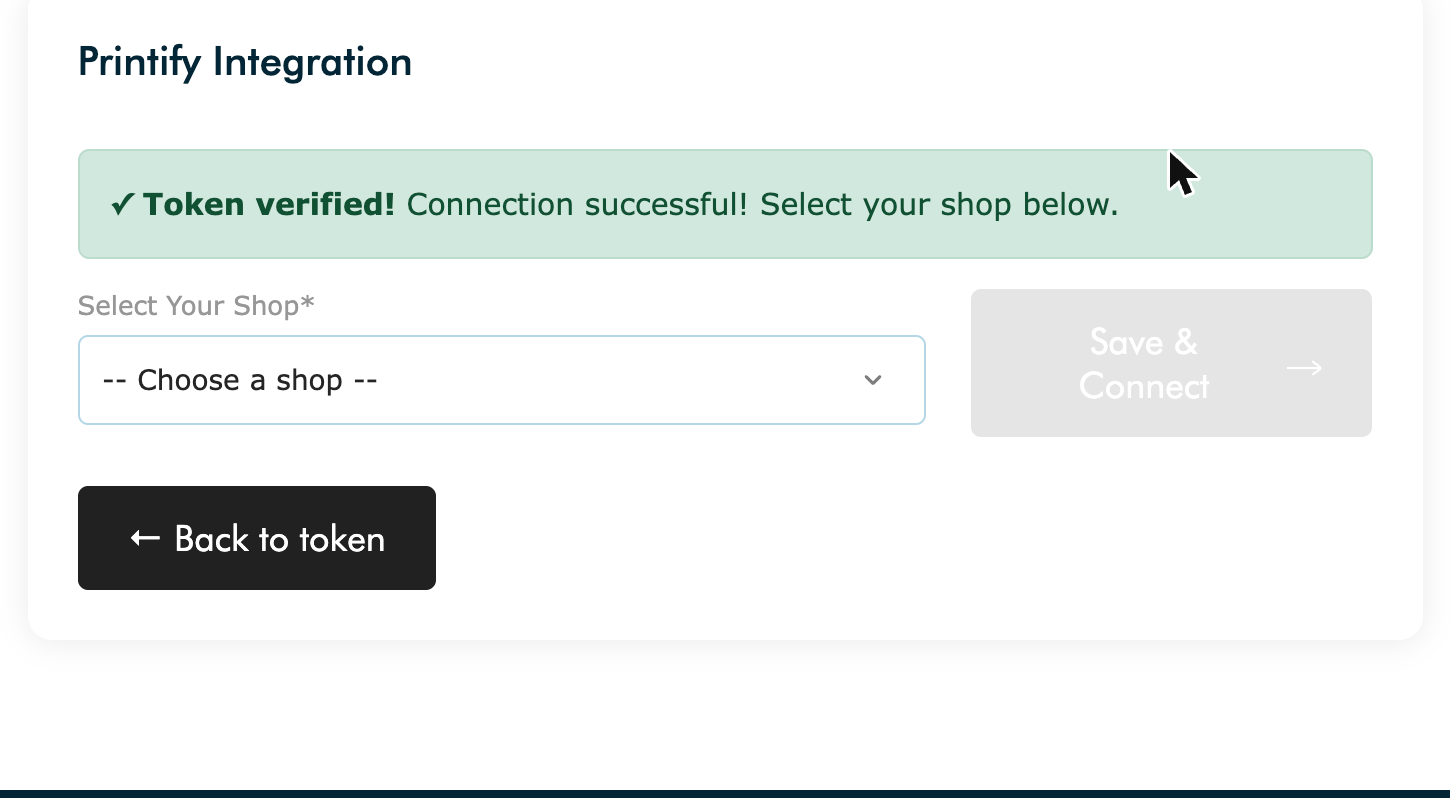
Step 4 — Select your Printify shop
- After verification, AgoraExchange shows the shops available in your Printify account.
- If you have more than one shop, choose the one you want to sync.
- Click Save & Connect to finish the setup.
You're connected. AgoraExchange will start syncing products from Printify in the background. Paid orders for Printify products are sent to Printify automatically — whether they go straight to production or wait for your approval depends on the Order Approval setting in your Printify account.
What's next?
- Review your Printify products inside AgoraExchange and set your retail prices.
- Confirm your payment method is active in Printify Account Settings so production isn't paused.
- Your token expires on the date you chose in Step 2. AgoraExchange will warn you 30 days before it does — generate a fresh one and use Update Token on the integration page.
Need to disconnect? Open the Printify Integration page and click Disconnect. Your imported products will stay, but no new orders will route to Printify.